
Cosmetic dentistry has come a long way in recent years. In fact, it has come so far — and so quickly — that many people have yet to catch up with all of the techniques currently in use. Unfortunately, this often means that they fail to capitalize on the benefits the contemporary dental world has to offer.
Fortunately, it doesn’t take much effort to keep yourself abreast of all the latest developments. If you would like to learn more about what dentists today can do to revolutionize your smile, read on. This article will introduce you to the common cosmetic treatment option known as dental veneers, then walk you through the process step by step.
Overview
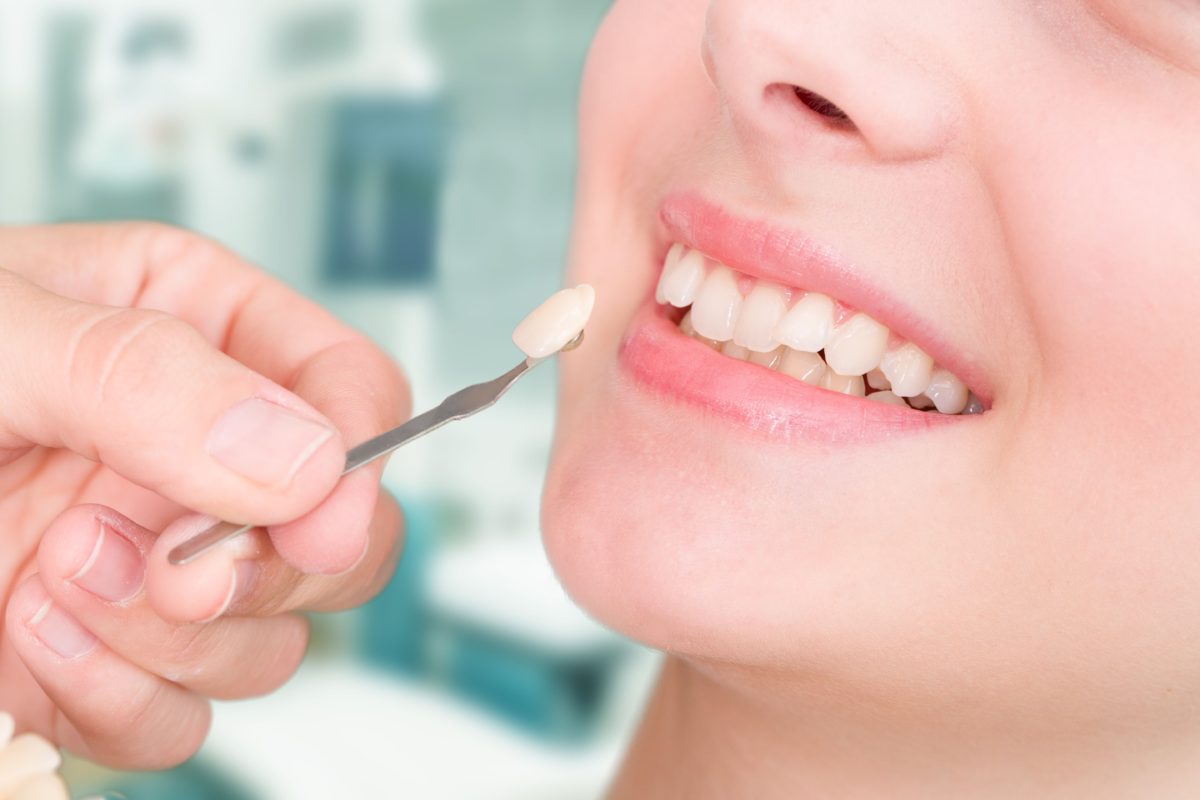
Dental veneers consist of thin pieces of porcelain designed to mimic the appearance of healthy, undamaged teeth. Once a veneer is custom created, it attaches to the front of an imperfect tooth by means of special resin. Veneers can be used to treat a wide variety of cosmetic ailments, including worn, discolored, chipped, misaligned, or improperly shaped teeth.
Pre-Impression
Once you and your dentist decide that veneers are a good treatment option for you, your dentist will make a pre-impression of the teeth to be corrected. This involves pressing a firm yet putty-like material known as polyvinyl siloxane around the tooth or teeth in question. The dentist then removes the putty and puts in a safe place to harden.
The hardened putty provides a three dimensional model of your damaged tooth. The dentist can then make alterations to this model in order to create a reverse image of the ideal tooth, one that looks right and fits in with the others around it. This will be the template for the exterior side of the veneer.
Tooth Preparation
If a veneer was simply adhered to the surface of your tooth as is, the veneer would stand out because it would jut out farther than the rest of your teeth. In order to create a flush, natural appearance, a layer of enamel only a millimeter or so thick must be removed from the surface of the tooth being corrected.
A dentist uses several different types of drill in order to accomplish this removal. Because some patients experience discomfort during this process, a mild anesthetic may be applied to the nearby gums. Having removed the enamel, your dentist will make a second impression using polyvinyl siloxane. This model will provide a blueprint for the interior side of the veneer.
Temporary Veneers
The process of creating a dental veneer can take several weeks because the two impressions must be sent off to a dental laboratory that manufactures veneers. Your dentist doesn’t expect you to walk around without enamel on your teeth, however. This would be both awkward and embarrassing.
To make your teeth as natural looking as possible, your dentist will instead affix temporary veneers on the teeth that are being fixed. These generic veneers won’t be a perfect fit, but they will be more than adequate at minimizing the chances that anybody will notice. Dental cement holds them firmly in place, yet can be easily removed when the time comes to install your permanent veneers.
Permanent Veneers
Expect to hear from your dentist about scheduling a final visit once your veneers have come back from the lab. At this time, they will remove the temporary veneers and give your teeth a good cleaning. The dentist then applies a mild type of acid to the teeth. This roughens the surface slightly to ensure the strongest possible adhesion between tooth and veneer.
Your dentist then coats both your tooth and the dental veneer with permanent cement, and presses the veneer carefully into position. Some small adjustments may be made to ensure a perfect fit. Once the position is perfect, your dentist will irradiate the tooth with an ultraviolet light that acts to harden the cement, forming a permanent bond.
If you would like to learn more about dental veneers, please don’t hesitate to contact the experts at Tippin Dental Group.
Keeping your smile healthy well into the future starts with creating healthy at-home habits followed by regular visits to our Wichita Dentist twice a year. To learn more about your treatment options, call Tippin Dental Group to schedule your next cleaning and examination.